
Here are the materials you need:
Mod Podge
Any artwork or photo
Glossy Accent
Magnet
Glue Gun
Brush
Cardboard paper.
First what you need is to clean the bottle cap and dry them really well. Draw a circle on a cardboard paper material using the back of the cap as measure point.

Cut your artwork in the same diagonal as the cardbox, and then paste them together with mod podge.

Once the mod podge is dry, use a glossy accent. I use the glossy accent for scrap booking. Slowly fill the edges and move your way around towards one direction to avoid bubbles. Leave it dry overnight. It will look a little matte at first.


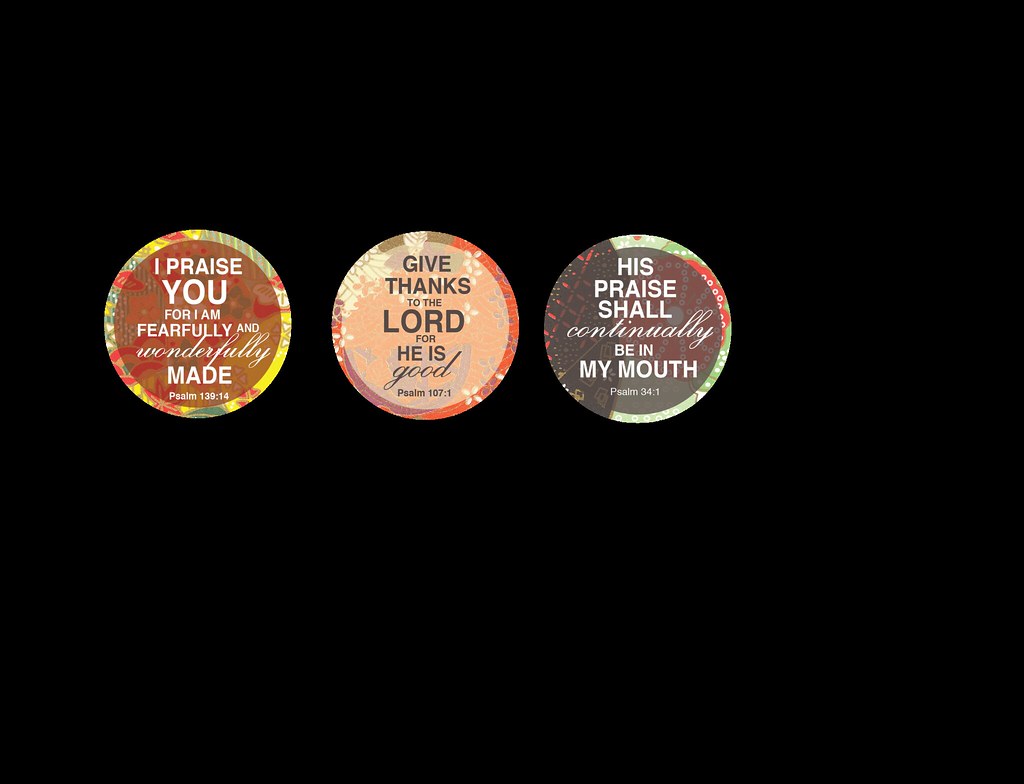
Here are few other examples I did that is different that these ones. This is a project I did for Raining Umbrella's last assignment of gift exchange. I gave them to fellow student Sylvia Latham. Just got her message today that she received them!.. I'm loving her respond! :)
"Got the gift and wanted to say THANKS so Much!!!! I love them and use them in my classroom. They also happen to be some of my Favorite verses. Thanks so much! I will have to post pics of them at work in my classroom! Have a wonderful week!" -Sylvia Latham

If you like these magnets, you can download the templates here.
Hope you like this tutorial.
Live, Love, and Be Creative.
No comments:
Post a Comment